How to Easily Make Amazing Large Outdoor Ornaments

Step 1: Clean light globe and used tuna cans.
 Source: homestoriesatoz.com
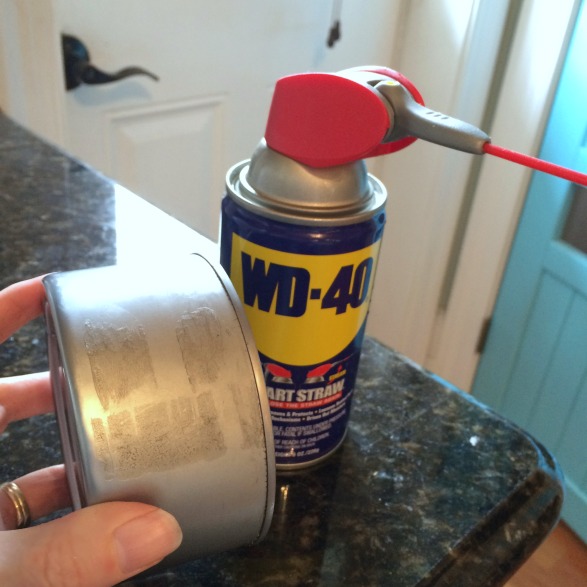
Wash the tuna can and remove the label. One of the best ways to do this is with a vinegar and alcohol solution/mix. This will help make sure you get rid of any fishy tuna smell and sanitize the can in the process. A neat little trick, you can remove any glue that’s left after removing the label with WD-40 and a paper towel. Of course, you’ll want to be in a well-ventilated area when spraying.
Source: homestoriesatoz.com
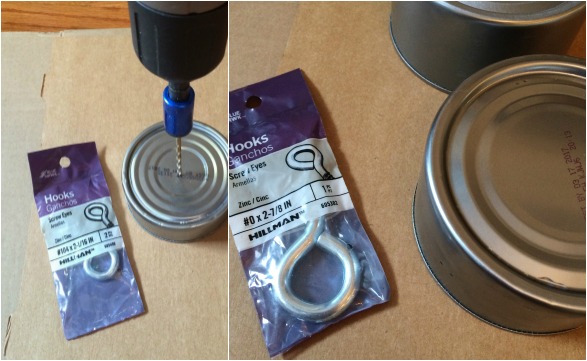
Step 2: Drill a hole in the center of the tuna cans.
Source: homestoriesatoz.com
Using a drill bit that is one or two sizes smaller than your eye screw, drill a hold in the center of the tuna cans.
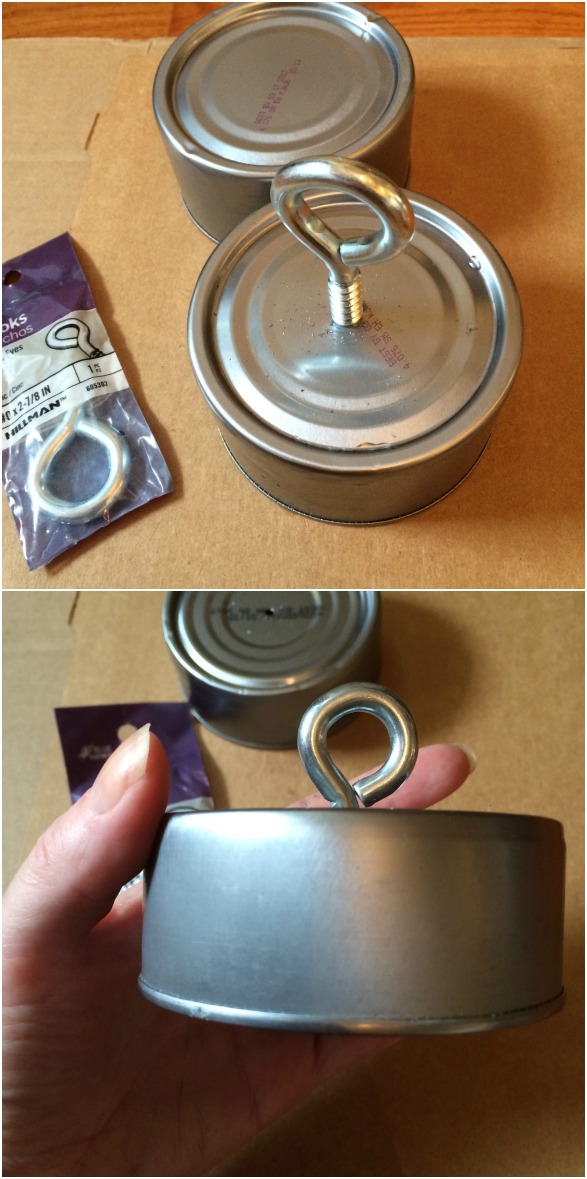
Step 3: Screw in an eye hook into each can.
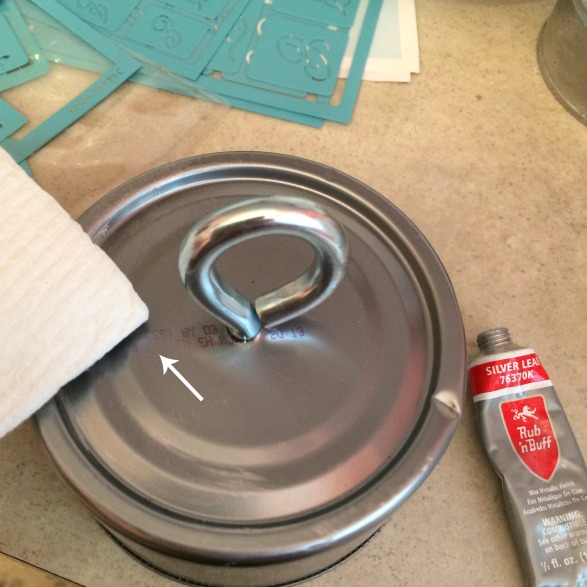
Step 4: Remove writing from bottom of tuna cans
Source: homestoriesatoz.com
Each of the tuna cans will have writing on the bottom of them. You can use Silver Rub ‘n Buff to cover them up, or you can even just spray paint them the color of your choice.
Step 5: Decorate Ornament with Stencils and Paint
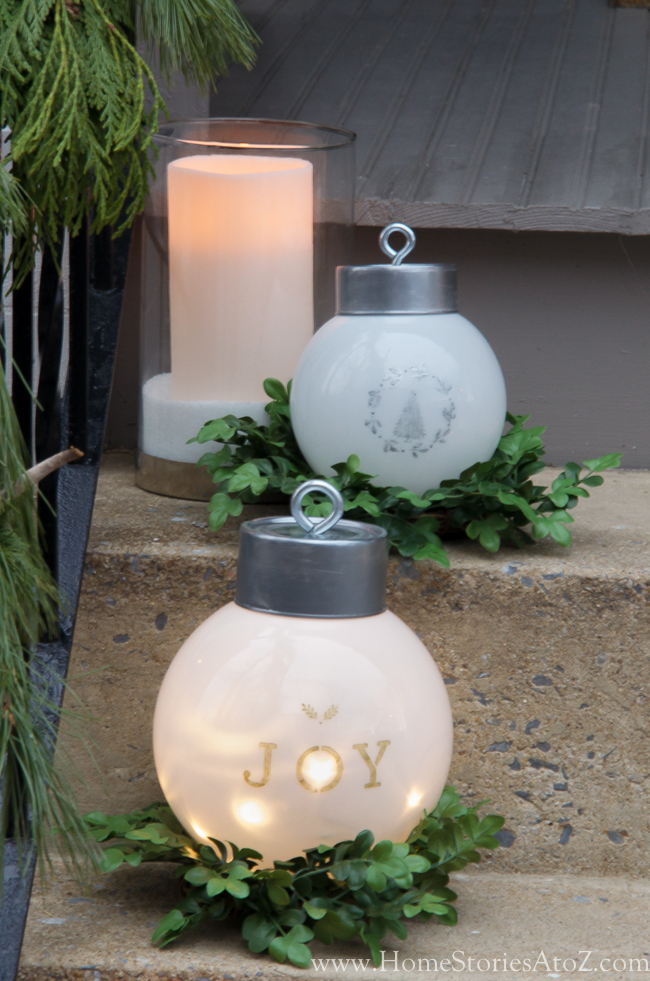
Source: homestoriesatoz.com
You can use any stencil you like from your local craft store, and we recommend silver or gold paint. This will make your large outdoor ornaments look just as beautiful as your indoor ones.
Step 6: Place lights inside of globes
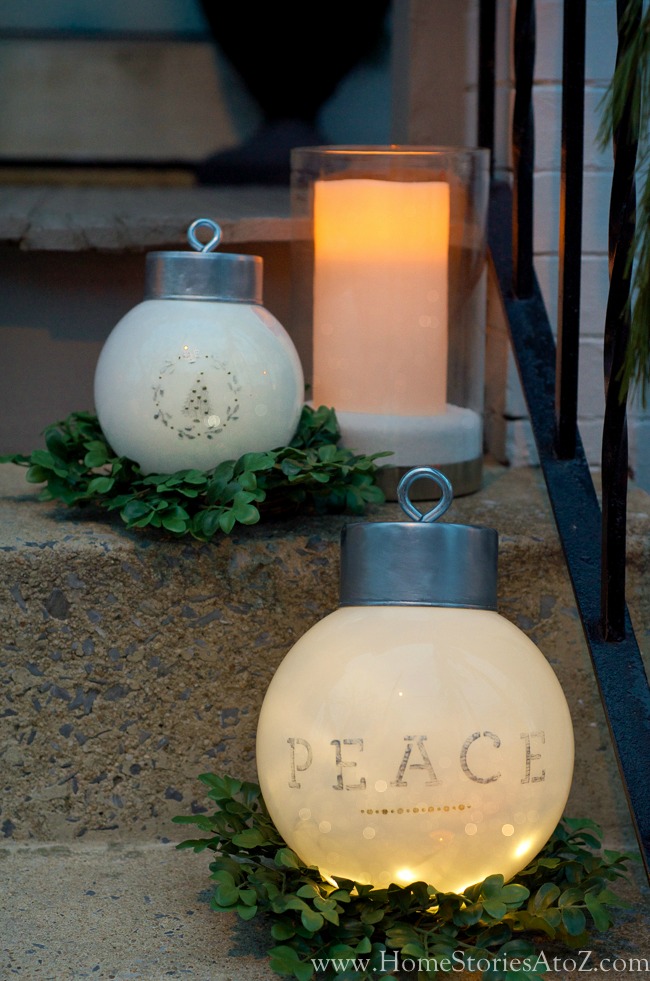
Source: homestoriesatoz.com
Battery powered lights, that is. Or you can even do candles if you wish, (just have to remember to replace them as they go out.) And there you have it! You’ve just made your very own large outdoor ornaments!
Displaying your new ornaments
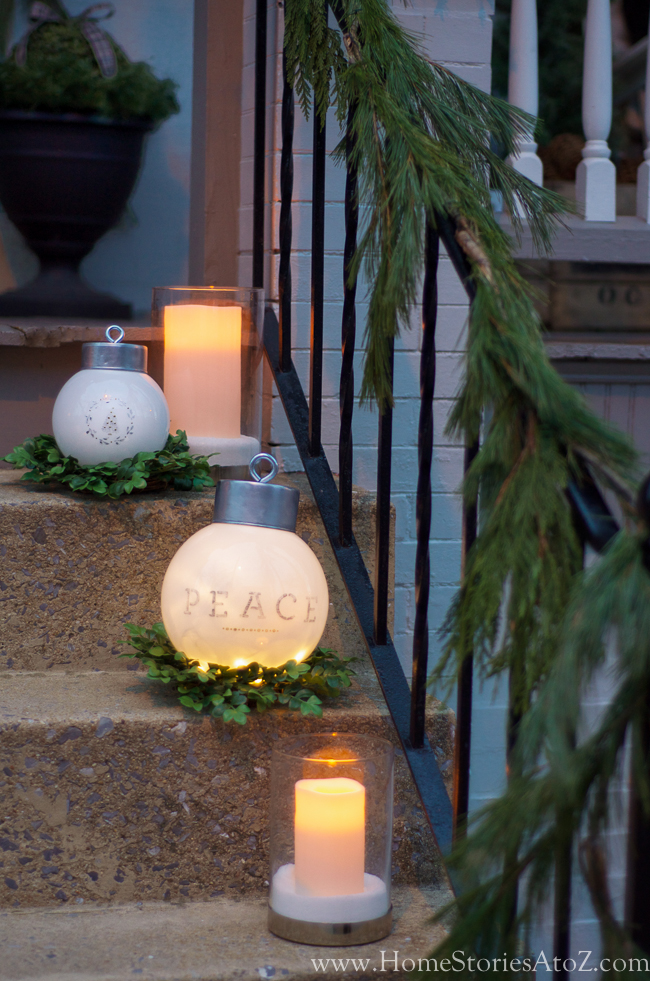
Source: homestoriesatoz.com
Since these are essentially large glass balls, you’ll need to secure the base so they don’t go rolling and shatter. An easy fix for this, which also looks great, is using small wreaths as a base for each. Other ideas are using strips of silicone caulk on the bottom or furniture pads to both pad the glass and grip the surface. We don’t recommend securing the tuna cans to the light globes just to make it easy to turn the lights inside on/off.
Adding Personal Touches and Final Flourishes
Now that you've created your stunning large outdoor ornaments, it's time to add some personal touches and final flourishes to make your display truly unique. Consider these ideas to elevate your decorations and bring more festive cheer to your outdoor space.
Personalized Touches
Adding personalized touches to your ornaments can make them even more special. Here are a few ideas:
Monograms and Initials: Use paint or vinyl stickers to add your family initials or monograms to each ornament. This not only personalizes your decorations but also adds a touch of elegance.
Holiday Words & Messages: Include holiday greetings or words like "Peace" or "Joy." Stencils and spray paint can be used – or it can be hand-painted for an alternate, rustic look.
Themed Decorations: Match your ornaments to a specific theme. For instance, if you love snowflakes, you can add snowflake decals or paint them onto your ornaments. This creates a cohesive look throughout your decorations.
Enhancing the Base
Securing the base of your ornaments is essential to prevent them from rolling away, but it also provides an opportunity to enhance their appearance. Here are some creative base ideas:
Wreath Bases: As mentioned, small wreaths make perfect bases for your ornaments. Choose wreaths that match your overall décor theme, whether it’s traditional greenery, white frosted, or colorful berry wreaths.
Planters and Pots: Place your ornaments in decorative planters or pots filled with pebbles, sand, or soil to keep them stable. This not only secures the ornaments but also adds a decorative element.
Lighted Bases: Wrap small string lights around the base of your ornaments or place them on lighted bases. This adds extra illumination and makes your ornaments glow beautifully at night.
Display Ideas
The placement of your ornaments can greatly enhance the visual appeal of your outdoor décor. Here are some creative display suggestions:
Garden Pathway: Adorn your garden pathway with your large ornaments, crafting a festive and inviting walkway for guests. Ensure they are spaced evenly and use coordinated bases to maintain a harmonious appearance.
Front Porch: Place the ornaments around your front porch steps or along the railing. This adds a welcoming touch to your home’s entrance.
Yard Centerpiece: Create a centerpiece in your yard by arranging the ornaments in a circular or triangular formation. Add some lights, garlands, and other decorations to make it a focal point.
Hanging Ornaments: If you have sturdy tree branches or pergolas, consider hanging a few ornaments. Use strong fishing lines or decorative ribbons to secure them.
Caring for Your Ornaments
To ensure your ornaments last through the season and beyond, proper care is essential. Here are some tips:
Weatherproofing: If your ornaments are exposed to the elements, consider applying a clear weatherproof sealant to protect the paint and decorations from rain and snow.
Secure Storage: When the season is over, store your ornaments in a secure, dry place. Wrap them in bubble wrap or soft cloths to prevent scratches and breakage.
Regular Checks: Replace any broken lights or peeling decorations to keep them looking their best.
With these additional touches, your large outdoor ornaments will not only look fantastic but also withstand the winter weather, spreading holiday cheer all season long. Enjoy your beautifully decorated outdoor space and the joy it brings to you and your visitors.
If you liked this article, check out our 8 Favorite Outdoor Nativity Scene Ideas. Nothing shares the true meaning of Christmas quite like an outdoor nativity set.
